Making a Bentwood Box

Step 1
Select the Wood
After choosing your box’s dimensions, find a length of red or yellow cedar that’s free of knots and splits, and slightly longer than the combined length of all four sides. For example, an 8” square box needs a 32” board that’s clear and without cracks.

Step 1
Rip and Plane
In our shop, we usually begin with a rough block of wood, cutting it lengthwise on the bandsaw to create boards. Watch your fingers! Next, we use the jointer for a flat face and straight edge, then plane the boards to the desired thickness for the box.

Step 2
Cut to Length
Now the fun part begins. With the size of your box in mind, measure and cut your board to match the total length of each side. Remember to leave a little extra length in case of any miscalculations. Nobody
is perfect – only Creator!
Step 3
Measure the Dados
To bend a solid wood board to a beautiful 90-degree angle without cutting it, we remove carefully material from the spot where each corner will be. While this can be done with a knife, we prefer using a router and some middle school mathematics to get the depth just right. For example, after making hundreds of boxes, we know a 5/8” thick board with a 1/2” wide dado will bend into itself nicely without breaking.
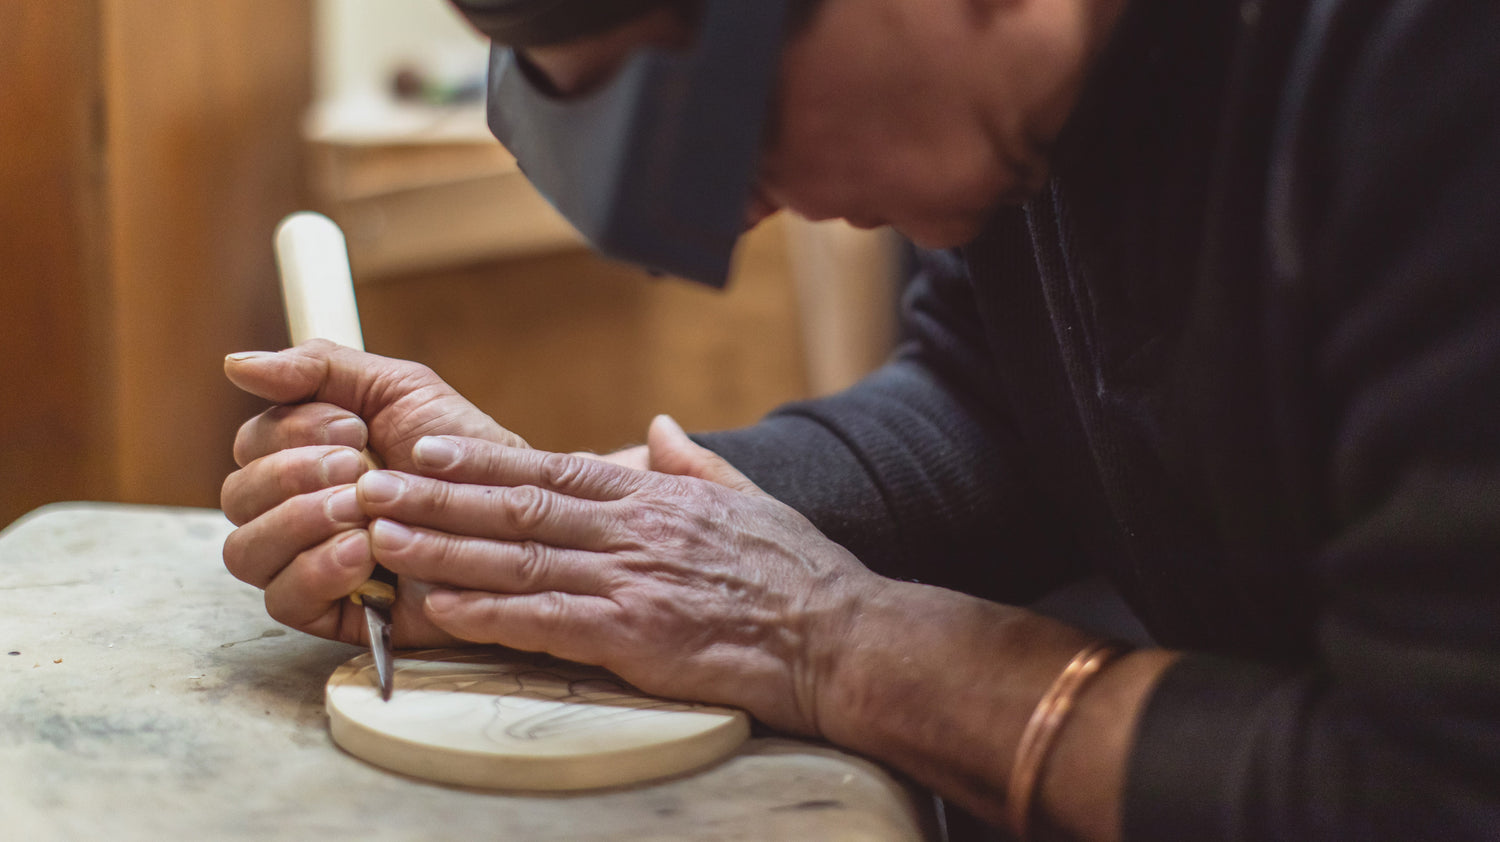
Step 4
Undercut the Dados
The last step before steaming is the most intricate - precisely undercutting inside each dado. This step was traditionally done
with a curved carving knife, but it can also be done with a special undercut router bit. The length of the undercut depends on the thickness of your board. Again, we rely on middle school mathematics and our experience to get it right.

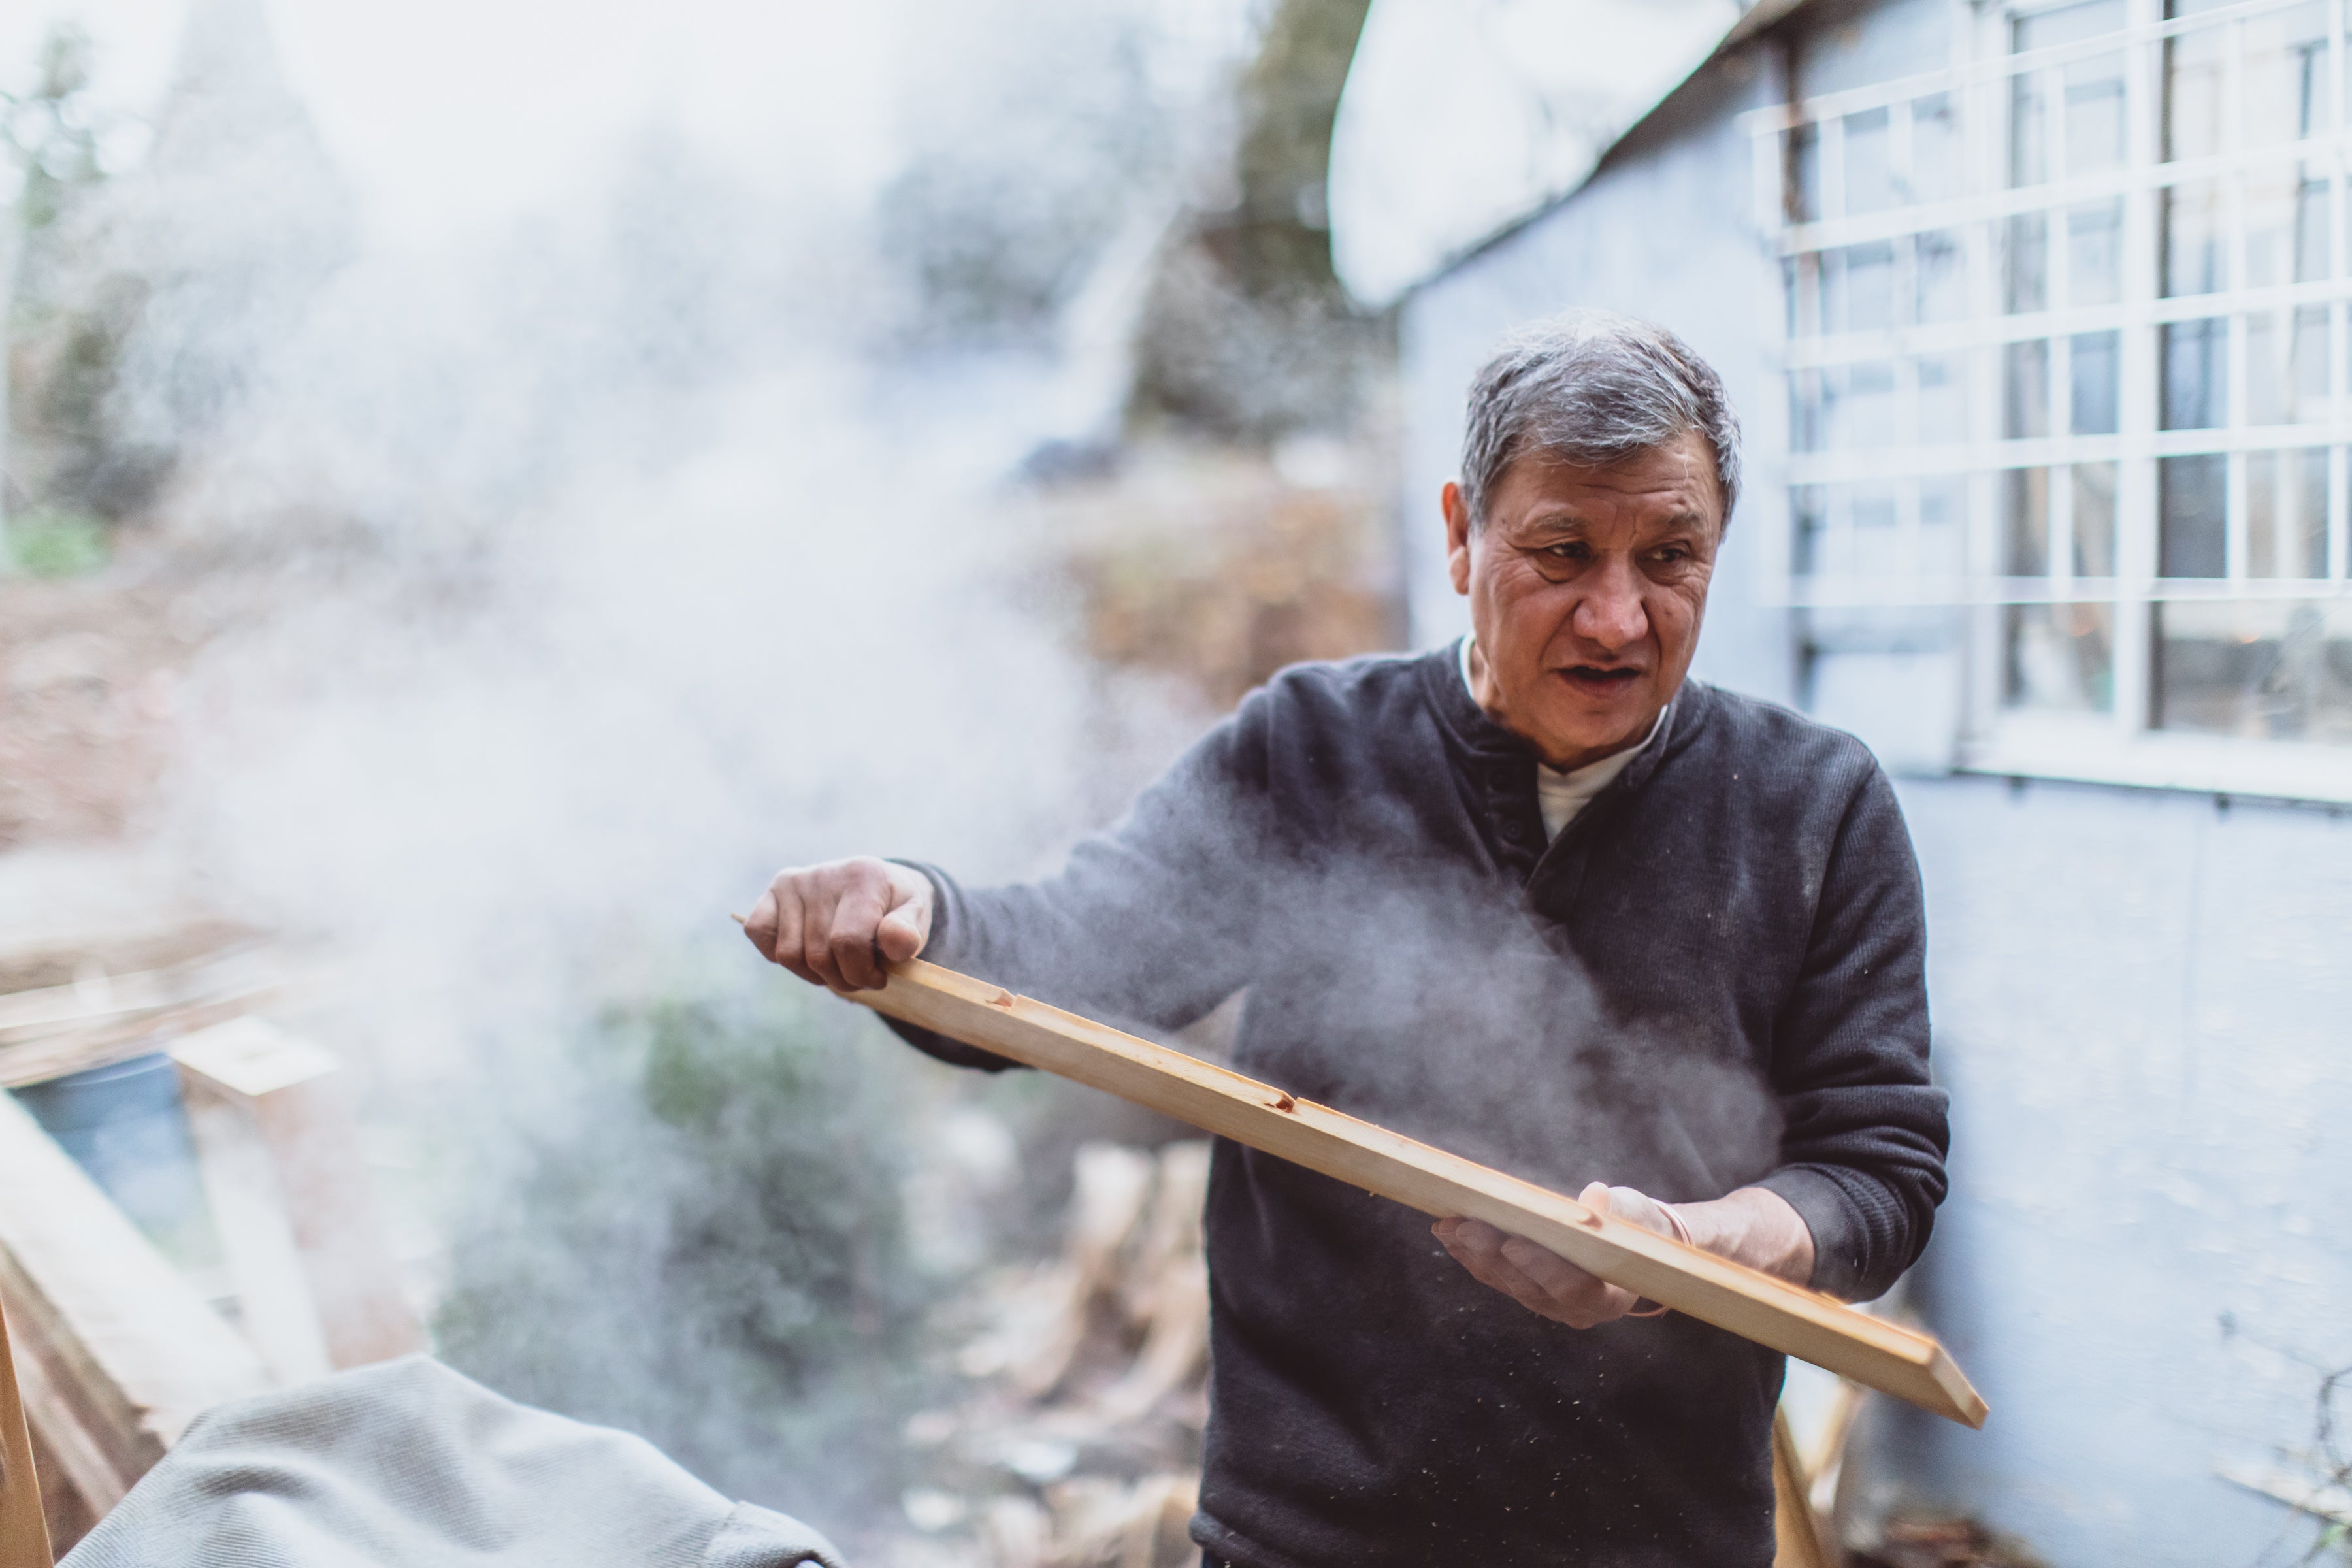
Step 5
Steam
We use a small steam machine and a specialized box to steam most boards. For larger boxes and chests, each bend must be steamed separately—repeating the process four times! Steaming usually takes at least 30
minutes before bending.
Step 6
Bend
By now you have many hours invested in each board so once your board is ready, the pressure is on! Carefully remove the board from the steamer and pleace it on a smooth, solid surface. Beginning with the rabbet joint that will lap over the opposite end to make the only joint of the box, proceed to bend each corner one by one until the rabbet joint falls perfectly (we hope!) onto the opposite end of the box.

Step 7
Clamp and Glue
Secure your freshly bent board using clamps or, as Peter Gong suggests, repurposed bicycle tires as durable rubber straps. Let the clamped box dry for a day to set its new shape. Once dry, remove the clamps, glue the single joint, and re-clamp for another day.

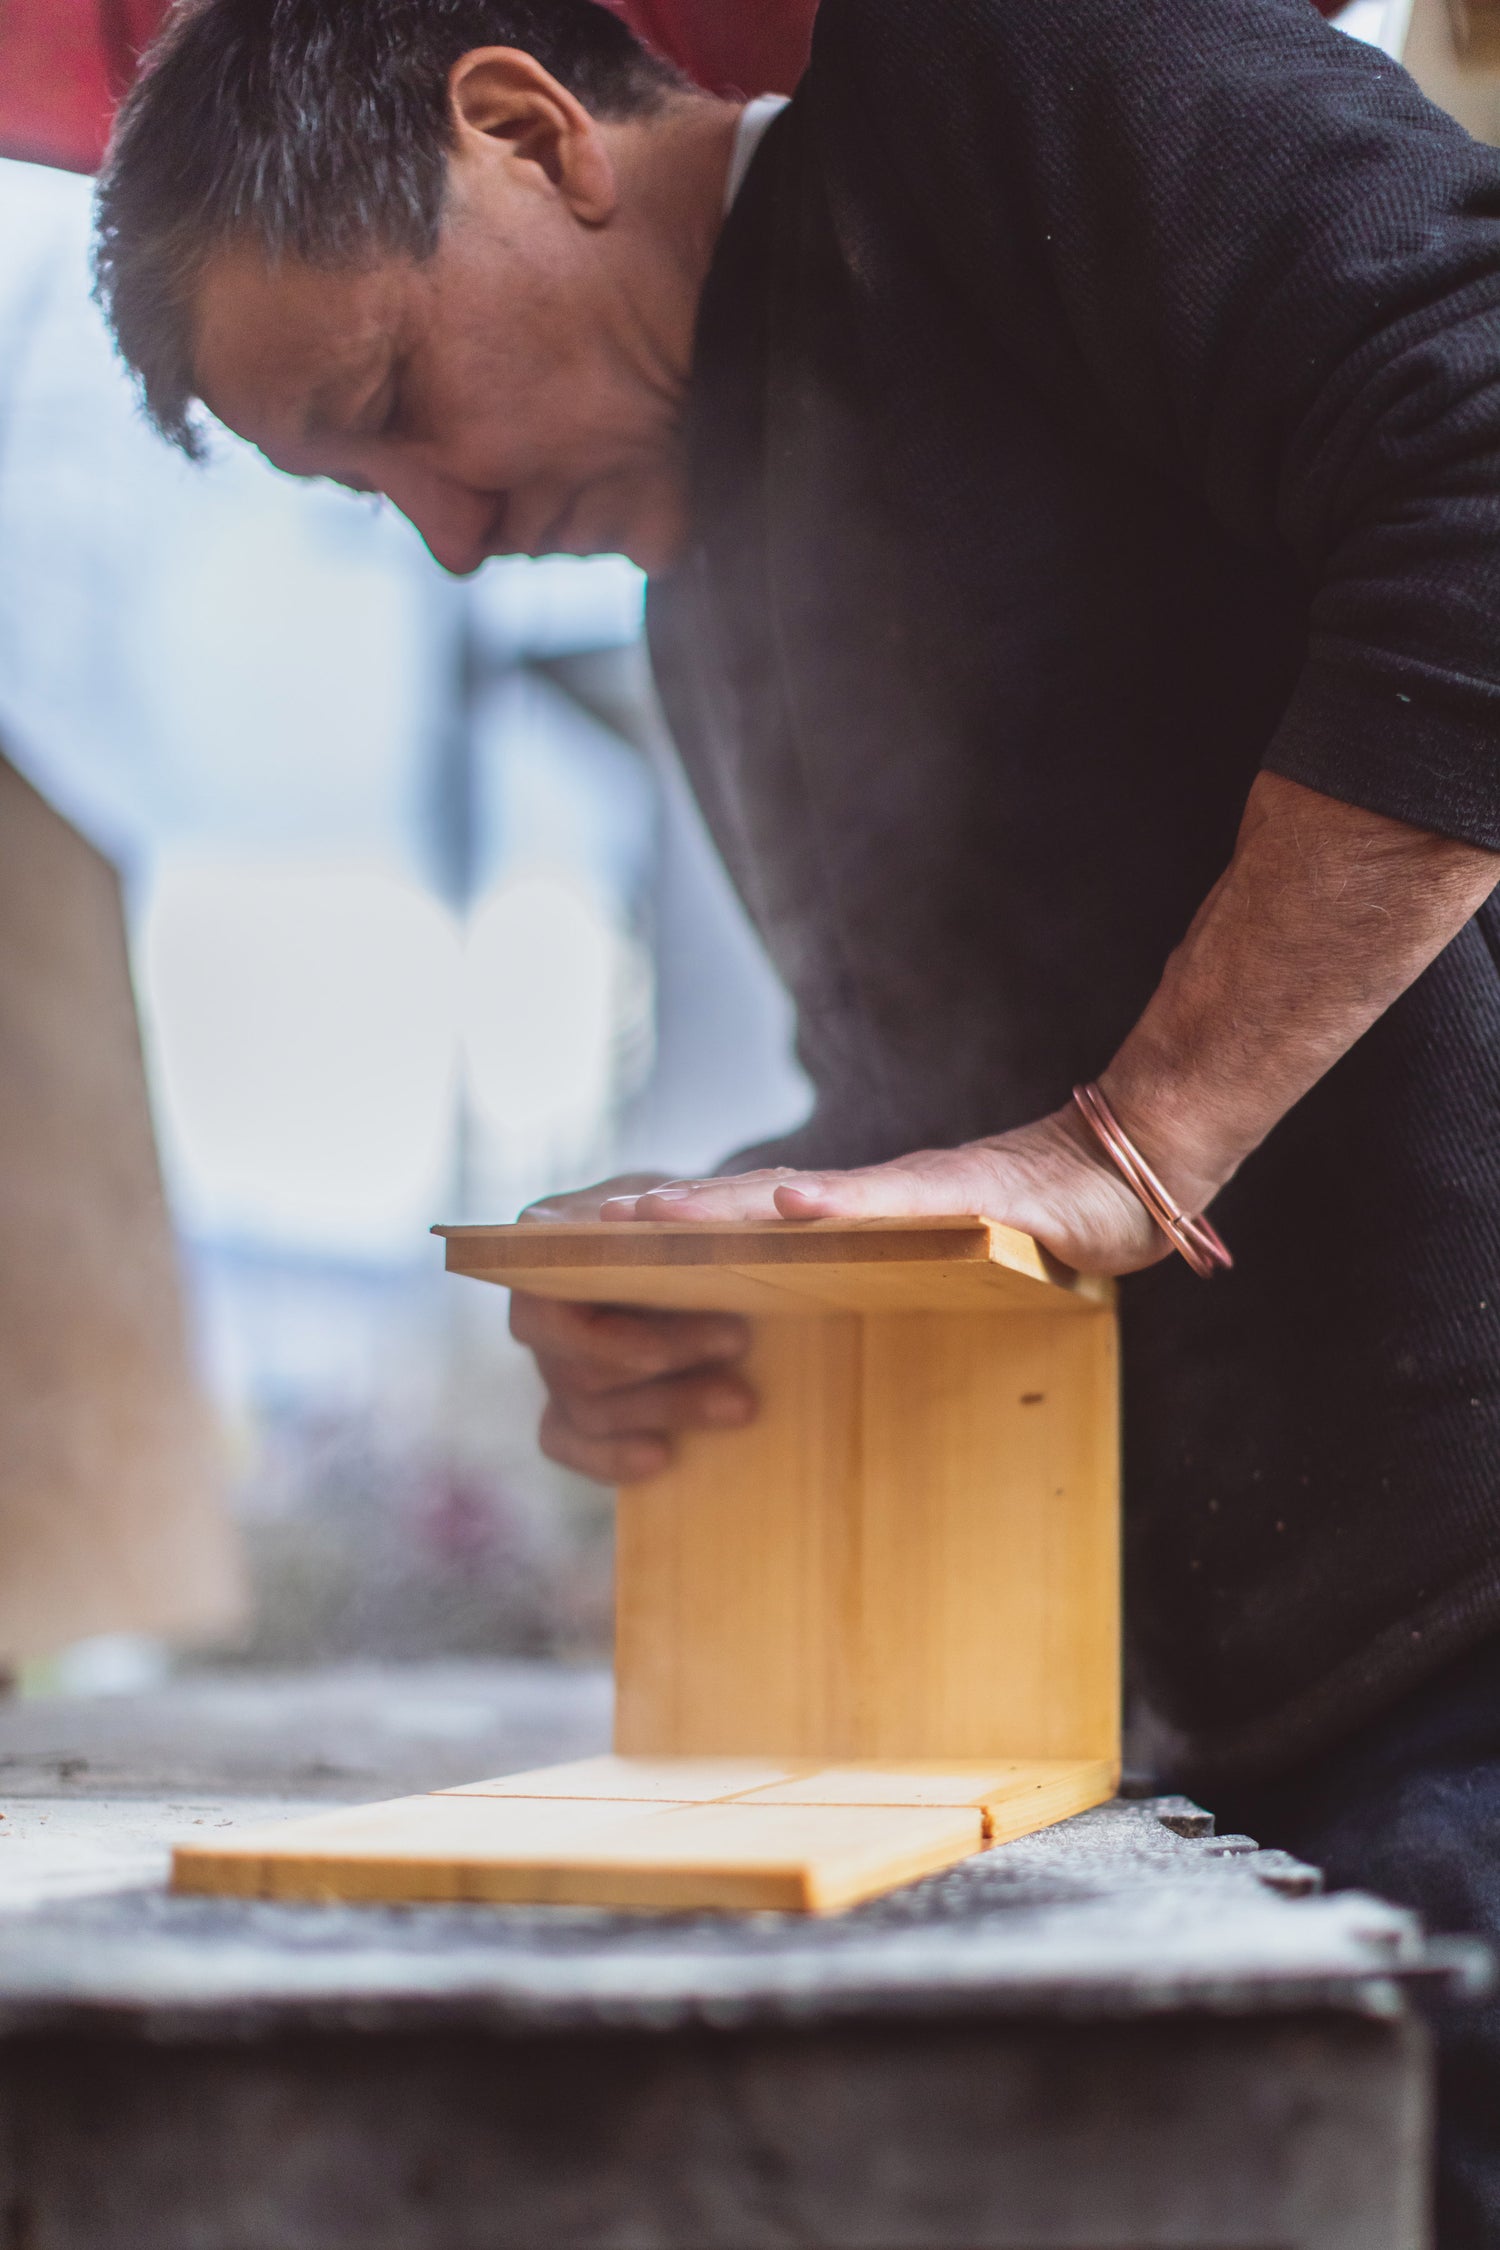
Step 8
Sand and Sand Again
After the glue dries, remove the box from the clamps and sand the exterior. Bends often fray or split during bending, and sanding these areas down will reveal whether the integrity of your box is still intact. Continue sanding until your desired finish is achieved.
Step 9
Make the Lid
This is really 2 additional processes, but it’s time to get back into the shop so we will make it brief. Glue the bottom to the box using 1/2” material, clamp it, and let it dry while you make the lid. For a solid lid, use a piece larger than the box opening. Cut the drop (the part that fits inside) with the table saw, then bevel the edges for the signature trapezoid silhouette lid.